
Super Moist Hummingbird Cake Recipe
Hummingbird Cake is a delicious treat that combines bananas, pineapples, and nuts. It's a classic Southern dessert that's similar to carrot cake but with a tropical twist.
The cake is moist and flavorful, making it perfect for any occasion.
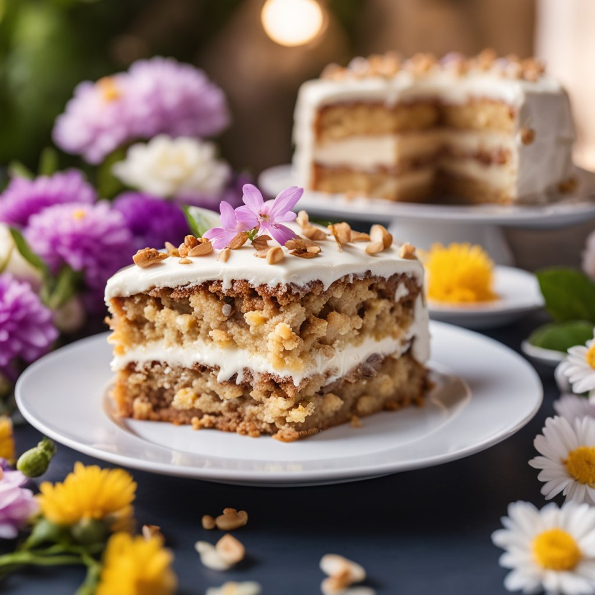
Originating from Jamaica, this recipe became popular in the United States thanks to Southern Living magazine. You'll love how easy it is to make, and your friends and family will be amazed at how tasty it is. The cream cheese frosting adds a perfect finishing touch.
If you've never tried making Hummingbird Cake before, now is the time! The flavors blend so well together, and it's a fun way to bring a bit of the tropics to your table.
History of Hummingbird Cake
Hummingbird cake has an interesting backstory. First, let's talk about its origins.
Originally called Doctor Bird Cake, it comes from Jamaica, where the national bird is the Doctor Bird (a type of hummingbird). This is why the cake got its name.
The cake made its way to the Southern United States in the 1970s. People there love sweet, rich desserts, and the tropical ingredients like bananas, pineapple, and coconut made it a hit.
Magazine ads and cookbooks started to feature this cake. Soon, it spread across the rest of America.
Even though it's now popular everywhere, you can still taste a hint of the tropics in every bite. So next time you enjoy this cake, remember its journey from the tropics to your table.
Let's get baking!
Ingredients Breakdown
Recipe Ingredients
You'll need some common pantry items. Gather your flour, sugar, and eggs. These form the base of your cake.
Measure carefully to get the best results.
Crushed Pineapple
This ingredient keeps the cake moist and adds a fruity flavor. Make sure to drain the pineapple well. You don't want too much liquid.
Bananas
Use ripe bananas. They should be soft and spotty. This adds sweetness and texture to the cake. Mash them well before adding.
Pecans
Pecans give a nice crunch. Chop them finely or leave some larger pieces if you like more texture. They also add a nutty flavor.
Cream Cheese Frosting
For the frosting, you'll need cream cheese, butter, powdered sugar, and a splash of vanilla extract.
Beat them until smooth and creamy. Spread generously over the cooled cake.
Preparations Before Baking
Before you start baking a hummingbird cake, gather your equipment, prep your ingredients, and prepare your cake pans. This ensures everything goes smoothly.
Equipment Needed
You'll need a few key items. Have these ready:
- Mixing bowls: At least two, preferably three.
- Electric mixer: Handheld or stand mixer.
- Measuring cups and spoons.
Other useful tools include a rubber spatula, whisk, sifter, and cooling rack.
By having these on hand, you can mix and bake without interruptions.
Prepping Ingredients
Make sure your ingredients are at the right temperature.
- Butter: Room temperature.
- Eggs: Room temperature.
- Pineapple: Crushed and drained.
- Bananas: Mashed.
Measuring your ingredients accurately is crucial for the cake's texture. Consider using a kitchen scale.
Cake Pans and Parchment Paper
Choose the right cake pans, usually three 9-inch round pans.
- Grease the pans with nonstick baking spray.
- Line bottom with parchment paper to prevent sticking.
This step ensures your cakes come out easily and keep their shape.
The Perfect Batter
Getting the batter right is key to a moist and delicious hummingbird cake. Here's how you can master it.
Old Fashioned Hummingbird Cake Recipe
Dry Ingredients:- 2 cups all purpose flour
- 1 tsp baking soda
- 1 tsp ground cinnamon
- 1/2 tsp salt
- 3 eggs
- 1 cup vegetable oil
- 2 tsp vanilla extract
- 2 cups sugar
Directions:
Combining Dry Ingredients
Start with all-purpose flour. It provides the structure for your cake.
Measure out 2 cups and sift them into a bowl. Add 1 teaspoon of baking soda. This helps the cake rise.
Sprinkle in 1 teaspoon of ground cinnamon for a warm flavor. Don't forget 1/2 teaspoon of salt. It balances all the sweetness.
Stir these dry ingredients well with a whisk.
Mixing Wet Ingredients
In another bowl, crack 3 eggs. Beat them until smooth.
Mix in 1 cup of vegetable oil. It keeps the cake moist.
Add 2 teaspoons of vanilla extract for extra flavor. Stir in 2 cups of sugar until dissolved.
The sugar makes the cake sweet and tender. Ensure everything is combined smoothly.
Marrying Flavors
Now it's time to bring everything together.
Gradually add the dry mixture to the wet mixture. Stir gently to avoid overmixing.
The batter should be thick and lush. This step is crucial for getting the perfect texture.
The spices and vanilla will blend, giving the cake its signature taste. Make sure all the flour is incorporated without lumps.
Congratulations! Your batter is ready to be baked.
Baking the Cake
Baking a hummingbird cake involves pouring the batter, allowing the cake to rise and achieve the right texture, and cooling the layers completely.
Pouring the Batter
Start by preheating your oven to 350°F (175°C) and greasing three 9-inch cake pans.
Pour the prepared batter evenly into the pans. Use a spatula to spread the batter smoothly and ensure even cooking.
It's important to divide the batter equally so each layer bakes properly. Tap the pans lightly on the counter to remove air bubbles.
Place the cake pans in the oven on the middle rack. Bake for about 25-30 minutes, or until a toothpick inserted in the center comes out clean.
Rotate the pans halfway through to ensure even baking.
Cake Rising and Texture
As the cake bakes, it should rise and become fluffy yet dense. This balance is achieved by using the right amount of baking powder.
Ensure your baking powder is fresh for the best results. Too much will make the cake rise too quickly and then collapse, while too little will make it dense and heavy.
Keep an eye on your cakes as they bake. The tops should be golden brown and spring back when lightly pressed.
Cooling the Layers
Once the cakes are fully baked, remove them from the oven and let them cool in the pans for about 10 minutes.
This helps the cakes settle and makes them easier to remove.
Transfer the cakes to wire racks to cool completely. Remove them from the pans by running a knife around the edges and gently inverting the pans onto the racks.
Allow the cakes to cool entirely on the wire racks before frosting. Cooling completely prevents the frosting from melting off and spoiling the final look of your hummingbird cake.
Frosting and Filling
Frosting Ingredients:
- 8 ox cream cheese
- 1/2 cup butter
- 4 cups powdered sugar
- 2 tsp vanilla extract
You'll need cream cheese and butter, both at room temperature. Softening these ingredients ensures a smooth, creamy texture.
Combine 8 oz of cream cheese with 1/2 cup of butter. Beat them until they're fluffy.
Next, gradually add 4 cups of powdered sugar. Mix well.
For extra flavor, add 2 teaspoons of vanilla extract. This makes the frosting deliciously sweet.
If you prefer vanilla buttercream, swap out the cream cheese for more butter. Adjust the sugar to taste.
Spread this frosting between the cake layers and on top. Make sure to cover the sides too.
The frosting also works as a filling, adding rich flavor to each bite.
Keep the cake in the fridge to maintain its texture. Enjoy your hummingbird cake!
Decorating Your Hummingbird Cake
Making your Hummingbird Cake look amazing is just as fun as baking it. You'll get to spread some delicious frosting and add great toppings like chopped pecans and toasted pecans.
Applying the Frosting
First, make sure your cake is completely cool.
Spread a layer of frosting on the first cake layer. A simple cream cheese frosting works best. Use a spatula to smooth it out evenly.
Place the second cake layer on top. Add more frosting. Try to keep it even and smooth. Use the spatula to cover the sides of the cake next.
Work slowly to avoid crumbs in the frosting. If you get crumbs, dip the spatula in hot water and wipe it clean. Continue until the cake looks neat.
Adding the Toppings
Sprinkle chopped pecans over the top. Press lightly so they stick. Add toasted pecans around the edges for an extra crunch.
Want more decoration? Arrange pecans in a pattern or add fruit slices. Pineapple or banana slices look nice and taste great with the cake.
Your cake should now look beautiful and taste even better!
Storing and Serving Tips
Keeping your hummingbird cake fresh and presenting it beautifully is essential. Follow these tips on how to store the cake for maximum freshness and the best ways to serve it to your guests.
How to Store
To keep your hummingbird cake fresh, refrigerate it.
Wrap the cake tightly in plastic wrap to avoid drying out. Then, place it in an airtight container or wrap it in aluminum foil. This will help keep any moisture from escaping and also protect it from absorbing other fridge odors.
If you need to store the cake for more than a few days, consider freezing it.
First, cut the cake into slices for easy thawing later. Then, wrap each slice in plastic wrap and place them all in a larger freezer bag. When you're ready to eat, let the slices thaw in the fridge for several hours.
Serve and Enjoy
When it's time to serve the hummingbird cake, take it out of the fridge and let it sit at room temperature for about 15-30 minutes. This helps bring back the cake's full flavor and makes it easier to cut.
For a nicer presentation, place the cake on a serving plate.
Make sure the plate is large enough to hold the cake comfortably without any risk of it tipping over. If you're serving at a party, consider garnishing the cake with extra chopped nuts or a sprinkle of powdered sugar for an added touch.
Chill any leftovers right after serving to maintain freshness. Wrap the remaining pieces tightly and place them back in the fridge, following the same steps you used in the initial storage. Enjoy!
Variations and Substitutions
You can swap the traditional pecans for walnuts or almonds. This will give your cake a slightly different texture and flavor.
If you are a fan of pineapple upside-down cake, you can add more pineapple chunks to your batter. This gives the cake a juicier burst in every bite.
Banana cake lovers can increase the amount of mashed bananas in the recipe. It makes the cake even more moist and banana-flavored.
You might want to turn your cake into a sheet cake if you have a larger crowd. Simply pour the batter into a rectangular pan.
Prefer layer cakes? Divide the batter between two or three round pans. Layer with cream cheese frosting for a classic look.
Want to add a personal touch? Sprinkle some coconut or dried fruits on top of the frosting. This adds extra flavor and decoration without much effort.
Tips for the Perfect Hummingbird Cake
Start with ripe bananas. The riper they are, the better they will blend into the batter and add sweetness and moisture.
Use canned crushed pineapple. Drain it well so your cake doesn't turn out too wet but still retains that fruity flavor.
Add a pinch of salt to balance out the sweetness. It might seem small, but it makes a big difference.
Be careful not to over-mix your batter. Stir just until everything is combined to keep the cake soft and fluffy.
For a moist, spice cake feel, cinnamon is a must. You can also add a bit of nutmeg if you like.
You can add chopped pecans or walnuts for a little crunch. Toast them first for extra flavor.
Use cream cheese frosting to complement the cake's flavors. Save some crushed pineapple for the top as a decorative and tasty garnish.
Health and Nutrition
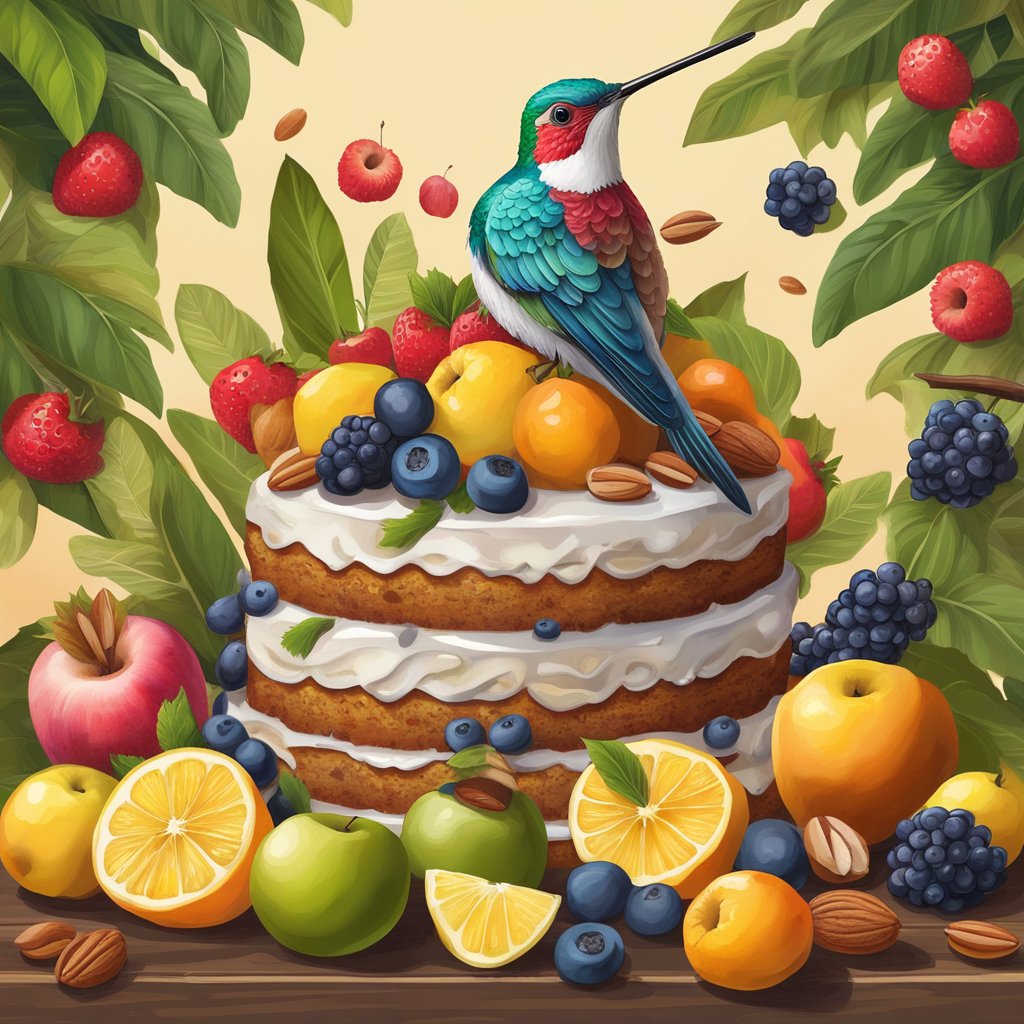
Hummingbird cake is a tasty dessert, but it is important to know what's in it.
Nutrition Facts
Here's a quick look at the nutrition in one slice (about 1/12 of the cake):
| Nutrient | Amount |
|---|---|
| Calories | 400-450 |
| Sugar | ~30g |
| Sodium | ~250mg |
| Fat | 22g |
| Protein | 4g |
Sugar
Hummingbird cake has a lot of sugar. Bananas and pineapple add natural sugars. The frosting usually adds even more sugar. This can be a concern if you're watching your sugar intake.
Sodium
There is some sodium in hummingbird cake, mostly from ingredients like baking soda and salt. Too much sodium can be an issue if you have dietary restrictions, so check the recipe if you need to limit sodium.
Fat and Protein
This cake has a fair amount of fat, thanks to oil and possibly nuts. It also has a little bit of protein. While the fats can give you energy, they can add up if you eat too much.
Tips
- Smaller portions: Try eating smaller slices to control intake.
- Substitutes: Swap out some ingredients for healthier choices, like using Greek yogurt in the frosting.
Make Ahead and Freezing
You can make the hummingbird cake ahead of time to save time later. Bake the cakes and let them cool completely.
Wrap each layer tightly in plastic wrap. For better results, wrap again in aluminum foil.
Then, freeze the wrapped layers for up to 2 months. When you're ready to use them, let them thaw at room temperature for a few hours.
The frosting can also be made ahead. Store it in an airtight container in the fridge for up to a week.
When you're ready to frost the cake, allow the frosting to come to room temperature. Then, give it a good stir to make it smooth again.
To freeze the entire cake, first assemble and frost it. Place the cake in the freezer until it's firm to the touch.
Once firm, wrap it in plastic wrap, then a layer of foil. You can freeze the whole cake for up to 2 months too.
When you're ready to enjoy the cake, unwrap it and let it thaw in the fridge overnight.
Enjoy!
Here's our favorite hummingbird feeders.
|
Our Favorite Bird Watching Binoculars, Squirrel-Proof Feeder & Hummingbird Feeder Read Our Reviews: |
||

Nikon Monarch M5
Best mid-priced bird watching binoculars. Waterproof, shockproof, multi-coated ED-Glass. |
|
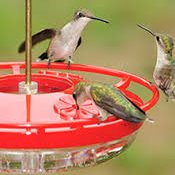
Best Hummingbird Feeder
Drip-Free, Ant-moat, Durable, Easy to Fill and Clean. |
| Click Images or Links To View More Info | ||